12 Easy steps that will bring more visitors to your website for free!
This is the boring intro text that I always skip when reading other blogs. Please continue…
1. UFO – Unique, Fresh and Original
“Content is the king…”
No matter how many times the Google’s search algorithm will change. Without a good and interesting content, your website won’t be worth sh*t. Never worry about the article length, worry about the quality.
2. Choosing the perfect title for your blog posts
Title is the first thing that will lure people to your site.. If you want to stuff your title full of keywords, Don’t blame me, if you don’t get any visitors.
3. Meta Description – It’s not for the Google, it’s for visitors!
This is an invitation what your website/blog is about. It’s not a place where to spam your keywords. I wouldn’t visit a site that has description full of stuffed keywords. Would you?
4. Title tags…
When you have lured visitor to your site. It’s safer to add those keywords to the H1 tag. Yes…Use just one H1 tag. Some SEO “gurus” tell you that Google doesn’t pay much attention to H1 tags. I must say…Thanks!
5. …Even more title tags!
Adding H2 title tags (sub-headings) between paragraphs. You get more important keyword space, and visitor get time to breath. I do not read blog posts that are long, if they don’t have any sub-headings. It’s also easier to find just that information you are searching!
6. Using Keywords and Labels
Yes, they are not so important anymore, but you will never know when that is going to change. Also labels/keywords helps visitor to better navigate your site. How many keywords should I use? BlogSpot has a limit of 200 characters (and Blogger is owned by Google). Do the math…
7. Taking your old blog posts in a good use
Always remember to add links to your related blog posts. Getting more visitors to your older articles, and more internal links = Win-Win situation.
8. Something to see – Pictures!
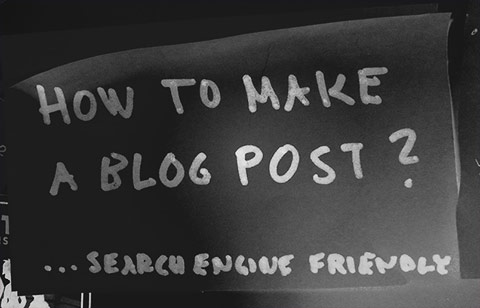
Almost any picture is better than nothing at all. Make sure your image has alt tags, and that the image is named properly. If you don’t have any fitting image…be creative! Image used on this blog post was taken from a post-it note. Yes. Those yellow stickers. I just took a photo of it, and added some photo filters! Simple, free and easy! With today’s mobile phones you can use instagram or lomogram (Windows Phone 8) to make creative photos.
9. Spel-Checcker – More professional look!
Always fix spellings errors, before sending your blog post to the Internets.
10. Chop your blog post!
Sometimes your blog post might be just way too long. Solution? Just cut it to multiple parts, and publish them separately. You can pick new titles and keywords! Genius! How many people read 10 pages blog posts? None
11. Finally your blog post is ready!
Double check everything, and click the publish button. Whew!
12. Last Step – Backlinks!
This is the most boring part (I’d rather spend time on writing). I don’t like building links, but it’s something you need to do daily. Places I usually put/promote my links are Twitter, Facebook, Google+, Stumbleupon, Reddit, PinterestDelicious, Digg and SocialMonkee (which is easy to use tool to build links). Remember to change the lead text, and keywords.
Tip: Add different topic, and keyword variations to the Notepad. Copy+Paste = Win
Hopefully I kept this short enough? Did you read other than the titles? Did I just prove my point? :)
Tired and bored sitting in front of your computer?:
Check out iHerb: iHerb.com, and get up to $10 discount from your first order by using coupon YUY952 – Why this ad is here? Answer is here.

